
It's safe to say I have purchased way too much make up in the past week or so. I thought I'd share my goodies.

Starting off with the make up geek individual eyeshadow pans. Starting from the left, is the foiled eyeshadow which gives off a metallic finish. The first colour I purchased is 'grandstand' (thanks Huma for answering my annoying "what MUG colours do I need pls?" question).
Secondly, I purchased a duo chrome eyeshadow which apparently adds a duochrome-y effect to your eyes. This shade is 'voltage'. When swatching this, it's not very duo-chromey but maybe it'll look better when applied to eyes? I'm comparing this to my duochrome single 'Chameleon Glow' Topshop eyeshadow in 'Shuffle The Cards', which is the best duochrome sort of shadow I've used.
The last three are the normal eyeshadow pans in the colours Shimma Shimma, Cinderella & Latte.

Next are the Morphe individual shadows, the two in the black from the left to right are Granite and Lustrous. They are the standard individual pans which are about £4. I think this is so affordable for the quality! The one in the red is the premium eyeshadow palette in Date Night. This pan is about 3 times bigger than the usual ones, and it's crazy pigmented. It's £5.50 which is mad cheap guys. These prices are from beauty bay. :) I'm so excited to fill up my Z palette.

I also purchased the Eye Essential 7 Piece set from BH cosmetics from beauty bay. I've not ever tried a BH cosmetics brush and really want to, resulting in me buying 7 at once. *rolling eye face emoji*
Now to talk about my glitter obsession pls.


I literally can't get enough of glitter. I think it's a winter/festive thing, which resulted in me searching for some good quality glitter. This Beauty Bakerie 'sprinkles' in white from Cult Beauty came with a free glue (yay) and it's so pretty. So if you've read my posts before, you know I have an obsession with Charlotte Tilbury. This glitter concoction has gold glitter, and the white shadow blends out to be translucent, so you're left with gold glitter. This gold glitter is pretty much a dupe for the glitter in the CT dolce vita palette which I am slowly running low on. I am so happy.
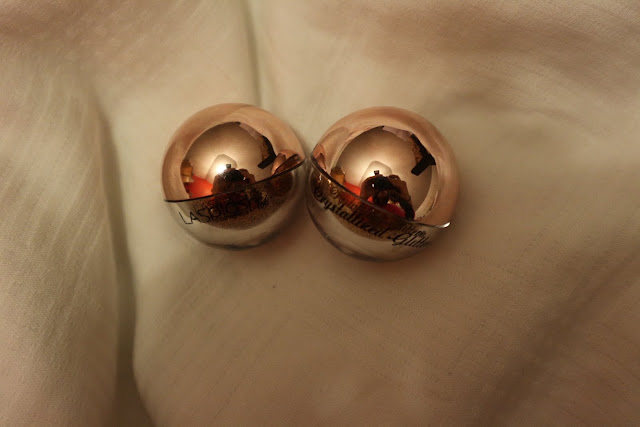 |
| V. Hard to Photograph thnx |


I always forget to use setting spray. I've had my setting spray from Urban Decay for years, so thought it was time to try something new. Maybe there's a reason I don't use mine at the moment? So hoping I can see a difference in this Gerards Cosmetics Slay All Day spray in peach. Smells yum.

Not the best picture (ngl; taking pictures of SO much make up is tiring), but this is the Hourglass vanish foundation stick in beige. I purchased this from Space NK and gosh, I love it. This product is magnificent. I've used it everyday since I've purchased, which is quite surprising as CT magic foundation is my holy grail. It blends out so easy (I prefer a Flat Kabuki instead of a beauty blender for this) and it looks so smooth. The colour I picked up for my skin matches really well, and I'm sure people have complimented my foundation more recently. It's £42, but I think it's worth it. I'm just hoping it lasts me more than a month.

I've not tried any Huda Beauty matte lipstick shades yet, so the first one I purchased is flirt. I really like this colour.

So I purchased the Lime Crime Velvetines in Shroom and Teddy Bear. I also love these, they're probably one of my favourite matte lipsticks after the Gerard Cosmetics ones.

Lastly, I purchased the Ultimate glow kit by ABH. I have the 'that glow' kit and although I use it occasionally, it's not my favourite. This seemed like a different formula, so also excited to try this. I got this from Cult Beauty, but I know it sells out quite fast when they restock. It's still in stock right now though!
I don't think I need any more products.. until next week.

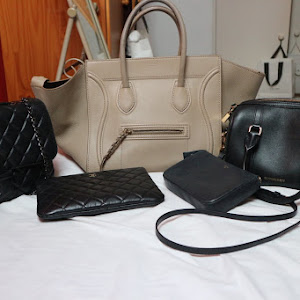
Many years ago, when I purchased my first ever luxury product, I remember always doubting myself on whether I had made the right decision. Over the years, as my collection slowly grows, I have been asked loads of questions about my bags, how I chose them, and even helped friends with their purchases. I don't know everything, but I'll share my personal experience with you guys, along with some tips & hope it will be of use.

Let's start with the Céline, the first one I ever purchased. This bag is called the Céline phantom; a very popular bag. Although it is very popular, it comes in many colours & many materials, so I find this bag pretty unique for each person.
The design has been similar over the years, with a few tweaks along the way. It has a handle, normally not large enough to wear as a shoulder bag, but large enough to be comfortable to carry everywhere. It has the same interface; sometimes the Céline is embossed into the material (like mine), and sometimes it's written in gold or silver. I will talk about the gold and silver embossing when talking about my Céline clutch in another blog post. Some also come with a plaited zip thing (like mine) and some are slightly simpler.
This bag comes in a variety of different materials; mine is Calfskin, which is a leather that is quite soft, easily scratched but very durable. Something I've learnt; do not buy a calfskin bag if it upsets you when it becomes slightly scratched. When I first purchased this, I was so upset with the first scratch, it's inevitably going to happen. I found with this particular bag, as long as the mark/scratch isn't too deep, the leather comes back up, meaning the scratch disappears (but there's still obviously signs of wear). I'm not sure if this happens on all the phantom bags, but along with the colour of mine being quite a nude/beige, this tends to happen. Other materials that these bags come in are felt, canvas, pony hair, suede, python & more. They also come in a range of colours, and designs; there's even stripy ones. I opted for a nude/beige.. just because I liked it. It was called 'earth' when I purchased it, I hadn't seen it for a few years in stores, but have recently noticed this colour has become quite popular again.
One thing I used to research before purchasing this bag, was the difference between the Céline phantom bag, and the luggage tote. The main difference is, the phantom does not have a zip.
I've noticed that this is a huge decider for girls, and rightly so, not having a zip on a bag can be pretty annoying. Personally, I preferred the interface of the phantom. Owning the bag for a long time, the lack of zip doesn't bother me, as the way you carry the bag, means the bag is quite close to you.. there's no way anyone is getting into my bag without me knowing. The luggage tote comes in a variety of sizes, while I believe the phantom comes in one size only. The luggage tote sizes vary from a nano size (which is SO cute) and goes up to quite a large size. It also has this 'tricolour' range, which is pretty appealing, but also quite daring. I've not seen the phantom in this style. The luggage also comes in a variety of different materials.
Overall I think the phantom is a great bag. Due to the large range it comes in, you can pick one according to your personality & it can still be a pretty unique bag. I've had mine for 3+ years now, and I'm still using it quite a lot. It's a great everyday bag.
Tips:
- Don't buy online! There are SO many fakes out there, why risk it? Unless it's an authorised seller or from a site you trust, it's not worth it. It's also always fun to go into stores and try them before you buy.. especially if you're new to this.
- Don't spend money you don't have. Never spend your money on one luxury product and then not be able to afford lunch the next day.. that's not cool. Budgeting and restricting yourself is the way you'll be able to afford nicer things in the future.
- Buy what you like, not what everyone else likes! So many people question my choice of style, but when they realise it makes me, me.. they understand. There's no point buying the most 'on trend' thing, especially if it won't fit into your day to day life, and doesn't suit your needs.
I hope this helps! I was going to write about all my bags in this post but I realised, I have way too much to talk about. Look out for my Chanel bag, my clutches & my burberry bag post to continue this 'starting a designer bag' series.
Bye :)


Hi! A vast amount of you have messaged to ask where this suit is from. I would like to start off by apologising! I'm sorry :( :(
I bought this suit over a year ago from a website called Iman Boutique. It comes with a net skirt that I didn't wear on this day and a dupatta. I recently contacted Iman Boutique to ask if this was still available to order for you guys, however unfortunately it's last season. BUT I advise you to check them out! They are great. You can choose between semi stitched & stitched in their suits, and they're always on trend and have great outfits.
I couldn't bear individually telling you guys this isn't available anymore, so thought I'd write it in a post.. but check them out!
Bye loves.
P.S. Happy November.


Anyone who knows me, knows my favourite make up brand is Charlotte Tilbury. Most of my friends ask me for my opinion when shopping in CT, so I thought I'd write a short review on every product I own.
In this post, I'll write a small review on the following:
- CT matte revolution in Bond girl, Walk of Shame and Birkin Brown
- CT the retoucher concealer in shade 4 medium
- CT mini miracle eye wand in shade 3
- CT full fat lashes mascara
- CT legendary lashes mascara
- CT dolce vita palette
- CT eyes to mesmerise eyeshadow cream in Bette
- CT colour chameleon eyeshadow stick in Champagne Diamonds
- CT magic foundation in shade 7
- CT magic cream
- CT goddess skin clay mask
I think that's everything I own.. I get a bit carried away.

 |
| From left to right: Birkin Brown, Walk of Shame, Bond Girl |
Staying power - for a lipstick, it's quite good. Matte lipsticks, of course, aren't as good as liquid lipsticks - I would say these are on the same level as MAC lipsticks for staying power.
 |
| Left to right: Mini miracle eye wand in shade 3, The retoucher concealer in shade 4 medium. |
The mini miracle eye wand comes with the eye cream on one side, which you apply under the eyes. I find that, you have to use this part while prepping your skin, so I apply with my moisturiser and primer, and wait 5 - 10 minutes before applying the second concealer part.
Both are pretty good - if I had to pick one, I'd choose the retoucher.
 |
| Left to right: full fat lashes mascara & legendary lashes mascara |

Eye products! This is a swatch of all the shiny eye things I own:
 |
| Left to right: colour chameleon eye shadow stick in Champagne Diamonds, Eyes to mesmerise eye cream in Bette & the four shades in the dolce vita palette. |
The first is the colour chameleon eye shadow stick in champagne diamonds. This is a silvery shade with silver glitter. I own nothing like this, in any other palettes. It is beautiful. They say that this is for blue eyes.. and other colours are for other eye colours, which I kind of dislike. My eyes are brown and I really liked this. I think that anyone could use any of the colours they sell, for any eye colour.. but I guess it's a good guide for some people. It's got good staying power and it's great for a pop of colour. The best thing is, this is so so easy to use! It's also very quick, so great if you're in a rush. I will definitely be purchasing more colours.
The eyes to mesmerise eye cream in Bette is such a lovely golden shade. Again, very easy and quick to use & best applied with your fingers. It stays on for a long time. I can insert a picture of it here..

It didn't pick up how gold it is in real life, but this is what it looks like all over the lid.
The dolce vita palette. I am in love. I can't get enough of this. Here's a picture with me using the dolce vita.

The colours are so pigmented. The only thing is I find that I need to use a lot of gold to achieve the look I want, so that's finishing quite fast - more than the other 3 shades, and again, I find the best way to get it this pigmented is to use your fingers. But, it is amazing.

My well loved magic foundation. This is my go to foundation - I use this everyday & for special occasions. For everyday, I use about half a pump all over my face. When I need more coverage, a full pump. It's pretty high coverage - which I don't feel like I need, but it stays on pretty much all day & it's so versatile.

Urgh, I wish I did not love this. This is the ONLY moisturiser that has worked for my skin. Normally, most moisturisers tend to break me out, clog up my skin, leave me looking oily & make my make up slip off. I received this as a small sample, which I used. Throughout the day, I kept noticing how good my skin looked, but completely forgot I had used this. I finished the sample and then realised I needed this in my life. It's such a good make up base, and improves your skin with or without make up. It's such a luxurious product so it is NOT cheap. But there's a reason for that.. it's literally magic (cheesy).

As you can see, I haven't really purchased this.. but only because the lovely lady gave me 4 sachets which I've not got through yet. Again, another skin product my skin slowly can't live without.
It basically does everything it claims to: it lifts, smooths, brightens & tightens pores. When you put this on, it doesn't feel like a normal mask. It doesn't dry to a hard mask or tingle. It's just basically very soft, like butter all over your face. It's not like any mask I have tried before. It also smells lovely. You notice results the following day after applying this. I remember just thinking I had really good skin the day after I applied this. After this sachet is finished, CT will be taking another £45 from me for this.
As you can tell, I am a major fan of most products. I tried to do an all in one review so this may not be as descriptive as you guys need, but if you have any questions at all, let me know & I'll be happy to answer. :) byeeee.
Hello,
Many moons ago, I used to do separate outfit posts (if people wanted to know what I was wearing), however as I haven't updated I'm going to compile a list of outfits here, which people have been interested in.
I will then in future, try to do separate posts!


Many moons ago, I used to do separate outfit posts (if people wanted to know what I was wearing), however as I haven't updated I'm going to compile a list of outfits here, which people have been interested in.
I will then in future, try to do separate posts!

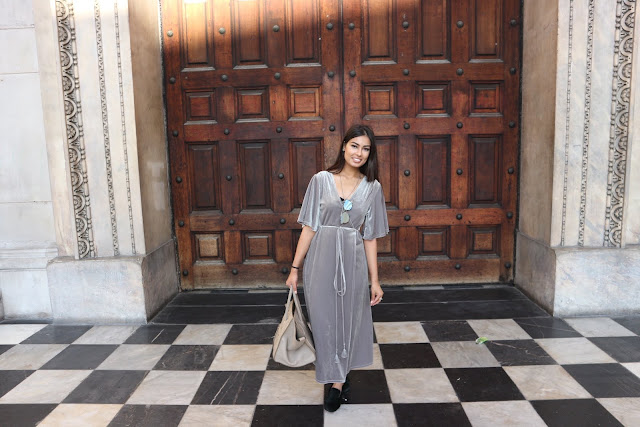
Grey velvet dress - Zara
Shoes - Céline

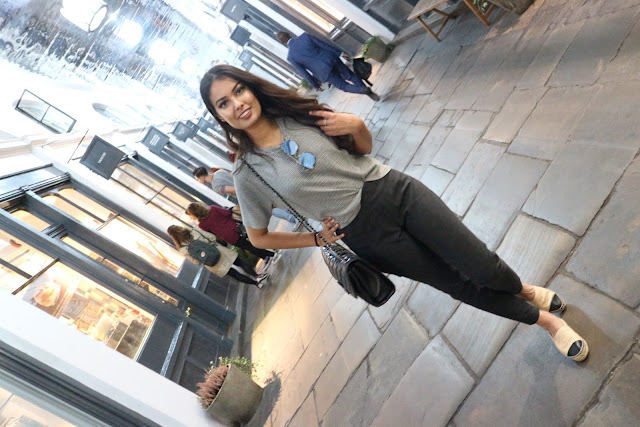
T shirt - Brandy Melville (purchased from Topshop)
Suede trousers - Zara
Espadrilles - Chanel

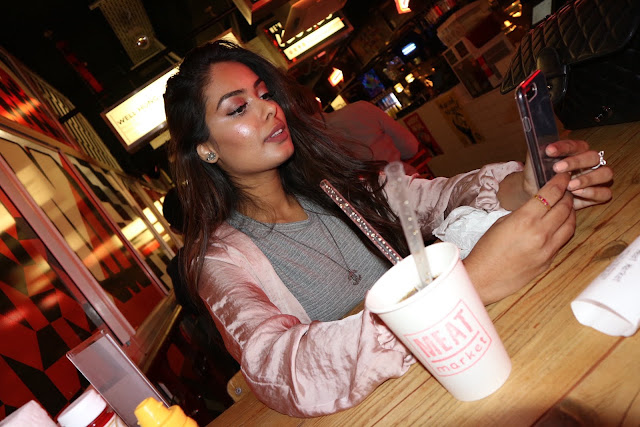
Pink Silk Bomber - Zara
Necklace - Chanel
Bow ring - Pandora

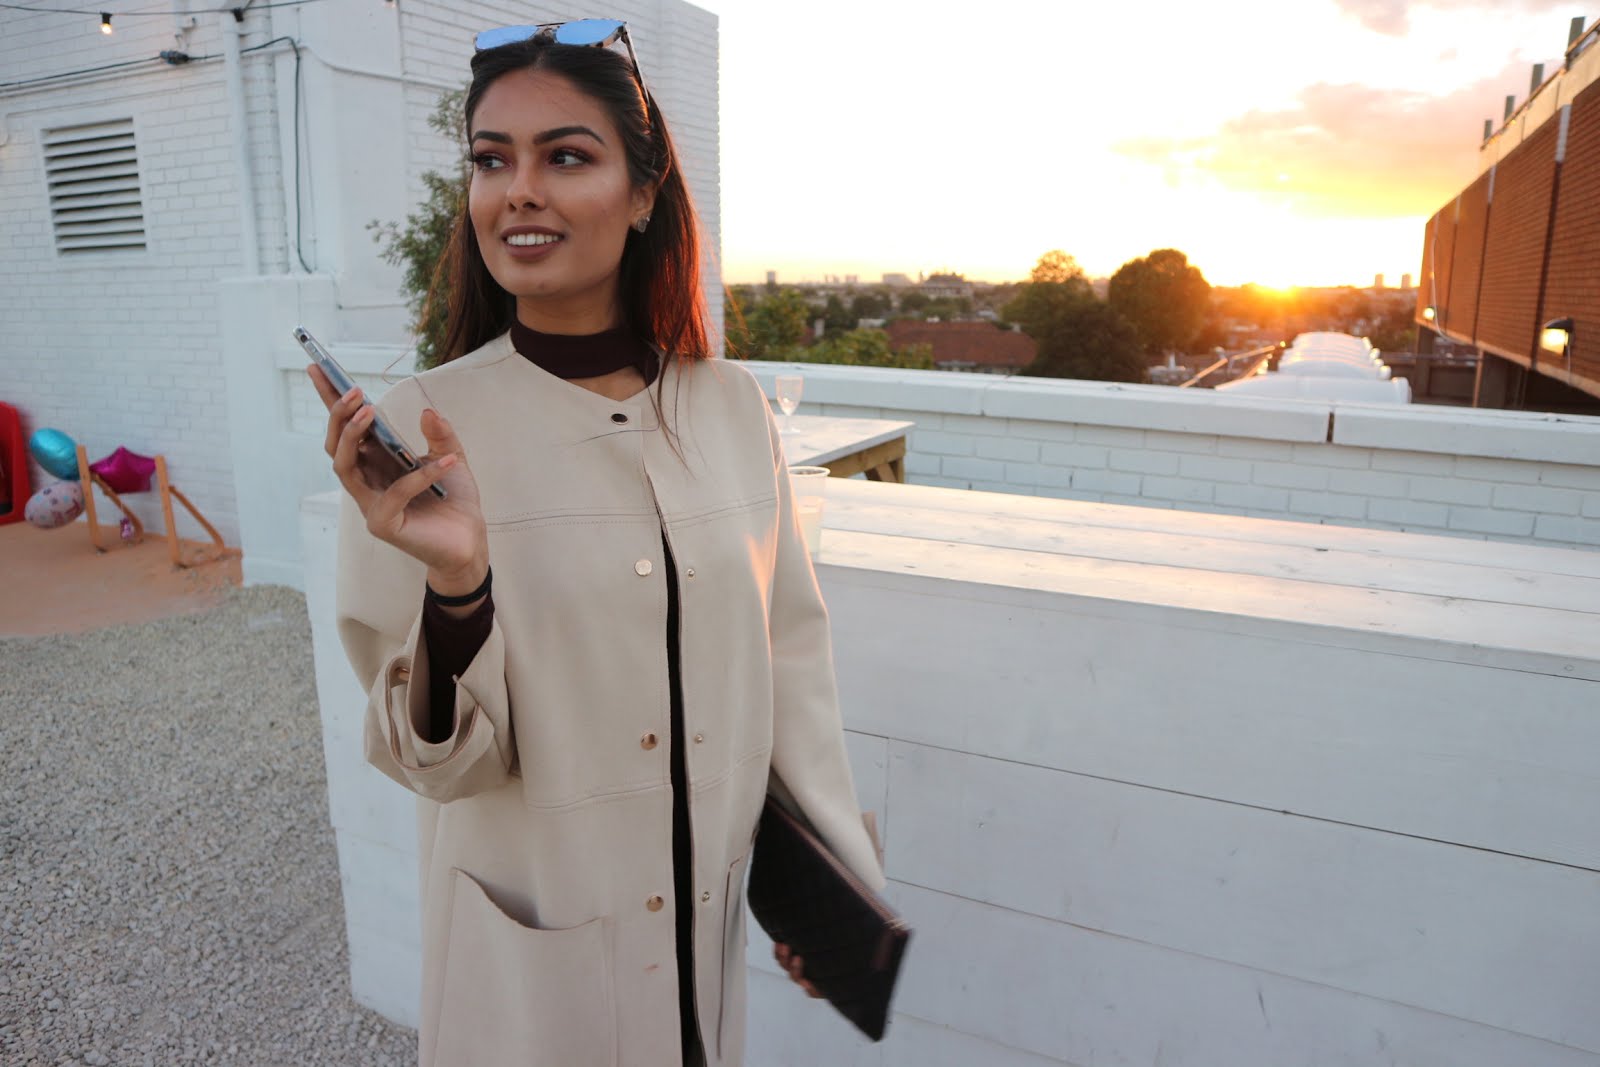
Suede coat - Zara
Clutch - Chanel
Trousers - Topshop (Joni jeans in that weird leatherlike material)
Shoes - Topshop


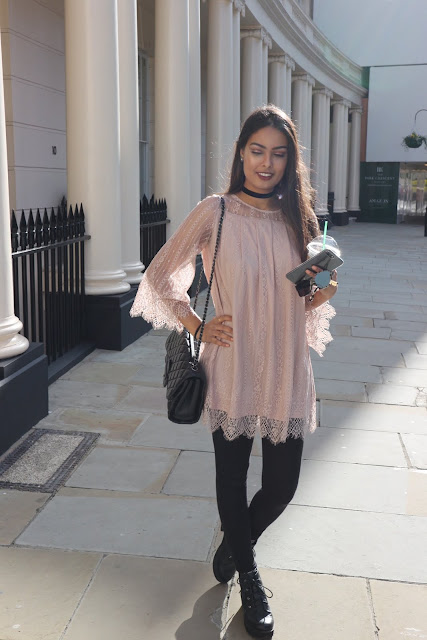
Pink lace dress - H&M
Choker - Topshop
Ankle boots - ASOS


Grey top - H&M
Culottes - Pretty Little Thing
Clutch - Chanel
Shoes - Topshop
Bye.
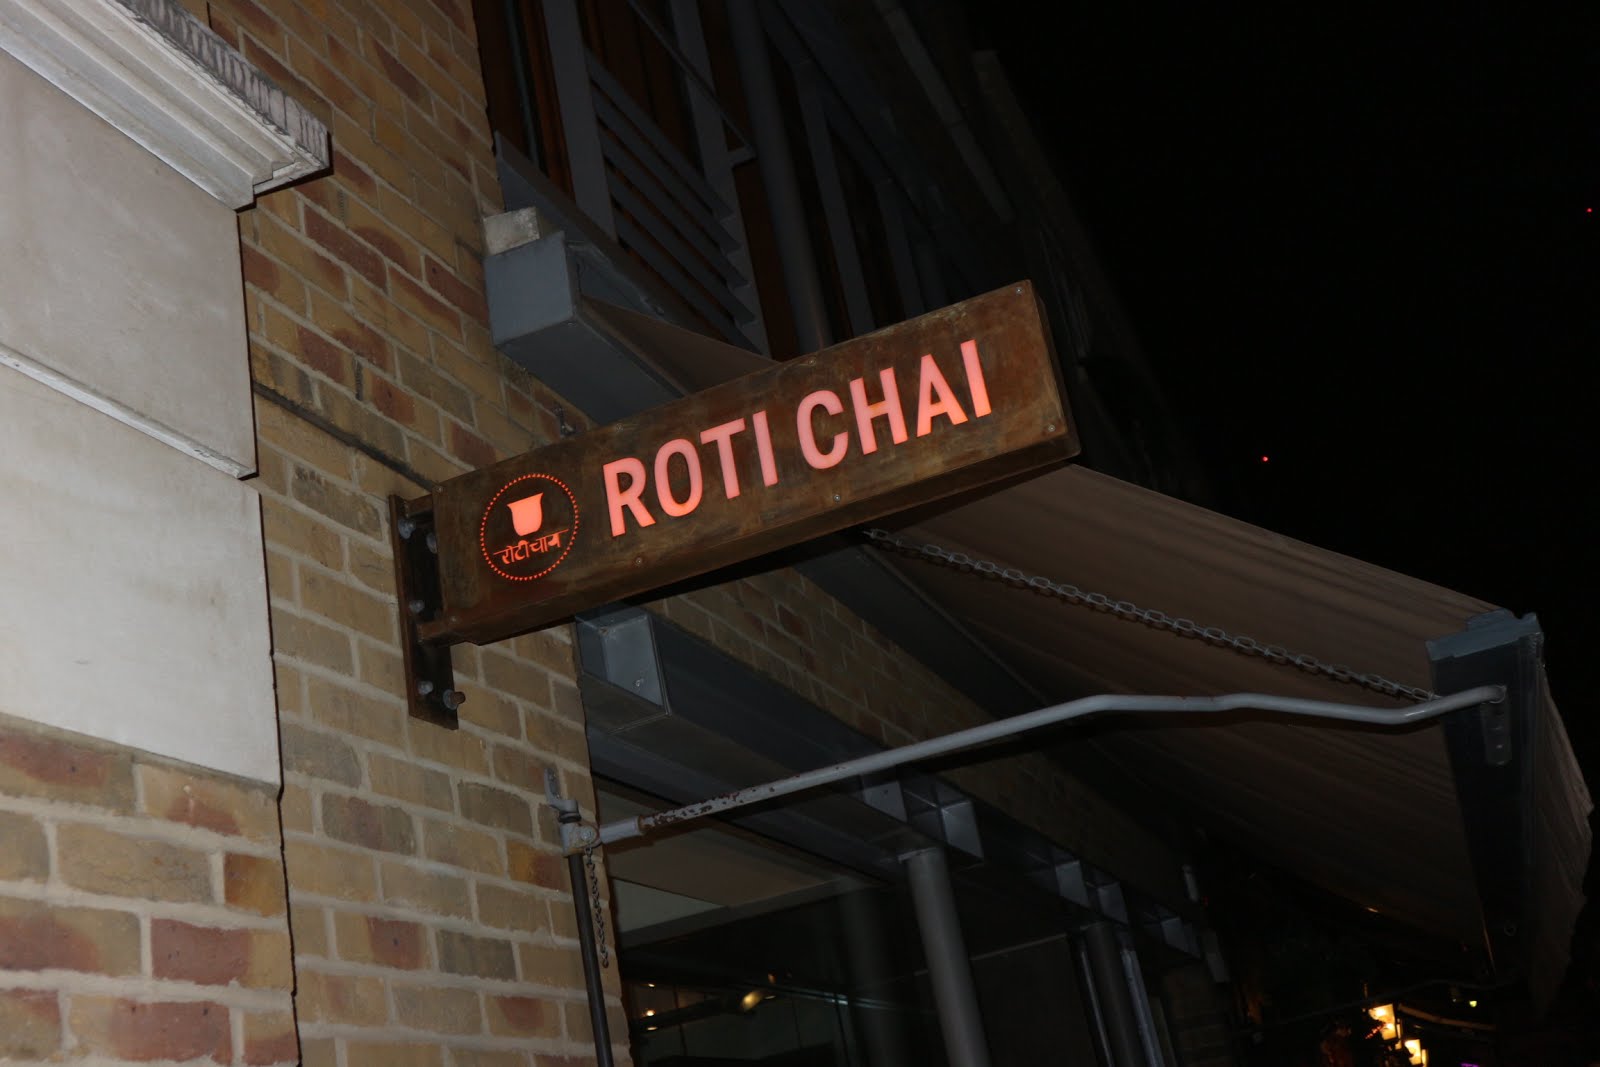
Location: 3 Portman Mews South, just behind Selfridges food hall.

Wait on a Friday evening: About 20-30 minutes. Quite busy in the restaurant itself.

Drinks: These were virgin cocktails. They were both pretty standard, yummy drinks. Nothing too fancy.


Paani puri: yummy, like any Paani puri. The price was good for what you got. Don't mind the pre selfridges shopping hand swatches.

Papdi Chaat: pretty different from normal indian restaurants, the crunchy bit was at the bottom. A little bit too much yoghurt, but still nice.

Mini kebab burger, and railway lamb curry (which came with two roti's) - the kebab burger was bigger than expected, like a normal burger size.. it said mini on the menu so we were pleasantly surprised by the size.
The curry was good, had a good taste, however nothing different to usual indian places.

Me.
Overall: 6.5/10.
The food was good, but let's compare to a very popular indian restaurant based in Central London; Dishoom. For a Central London restaurant, more innovation may be expected, however the prices weren't as expensive as Dishoom. The decor is pretty similar, and overall, a nice place to eat. The waiting time is also not as bad, and that's without a reservation. The food was good value for money - £40 including drinks. Overall, a nice place to visit, for a casual lunch/dinner. :)

I know a few brands actually sell this highlighter, and apparently one brand actually have been sold out for ages.. so this DIY rainbow thing is pretty popular.
This is how my highlighter looked before I began ANYTHING.

So you can see why I didn't mind smashing it up lol. I would also like to point out that I did not want to purchase anything for this, so used products I found at home. The instagram post I saw used Isopropylgsjdfsd (an alcohol I clearly can't write) to turn it gooey but a) where do you even buy stuff like that? b) who even has time for that? (Me clearly because I had time for this).

So I smashed it further, into this.

I then divided the highlighter into 6 shot glasses.


I actually reach for this Barry M glitter dust a lot on a daily basis. The shade has robbed off from the bottom of the pot, so yeah.. it's the white one. Sometimes, when I apply a matte eye, I miss glitter, and chuck this on. I put some of this into each shot glass.

I then found this baby. It's the ELF 100 eyeshadow palette or something, that I purchased years ago. As you can tell, I hardly reach for it.. one of them purchase you just purchase for the sake of purchasing. I proceeded to choose to smash this up.
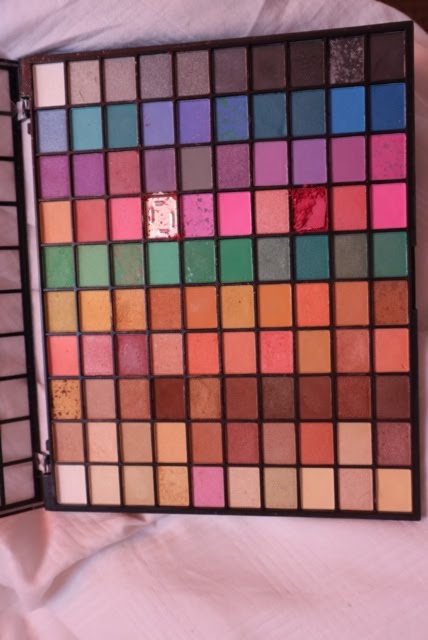 |
| It's annoying me as much as it's annoying you that this picture won't rotate. |

I mixed until it became something like this.

Now is the time to warn you that I made an extreme mess.

Looks cute, I know.

So, I needed to find something that would make it all liquid-ey. Ignore the hydraluron, I actually didn't end up using that. I used the NYX born to glow liquid illuminator + this RMK make up base (which was from a Birchbox). The RMK make up base is like a creamy primer, and I just went for it as I don't really use it. The NYX liquid illuminator was just to give the highlighter more glow, because you know, fun.


So then I laid out the now creamy highlighty colours in my mary loumanizer empty pan, like so. It was really hard not to mix up all the colours, and some purple got mixed with the blue and green. I found my mixture really watery, so I had to use a paper towel to get rid of the water that was basically pouring out the pan. For 24 hours, I left it to dry in my room, and then I was like duh why would I not put it in the fridge?!

 |
| Don't ask me why I have headphones on. |


Review:
I would never go out like this. LOL. Unless, I mixed it all together and wore it. Like swirled it and then applied. I did try that and it looked pretty good. I applied this with an eyeshadow brush, to give the rainbow effect on the face.
It's fun, although messy and whenever I look at it I'm pretty proud at my creation.
The green is really prominent, the rest of the colours aren't very pigmented, but that might be the elf eyeshadow I used.
In conclusion, do this because it's fun & something to do when none of your friends want to go out.. but don't do it for actual highlighting purposes. Good day.
Subscribe to:
Posts (Atom)


